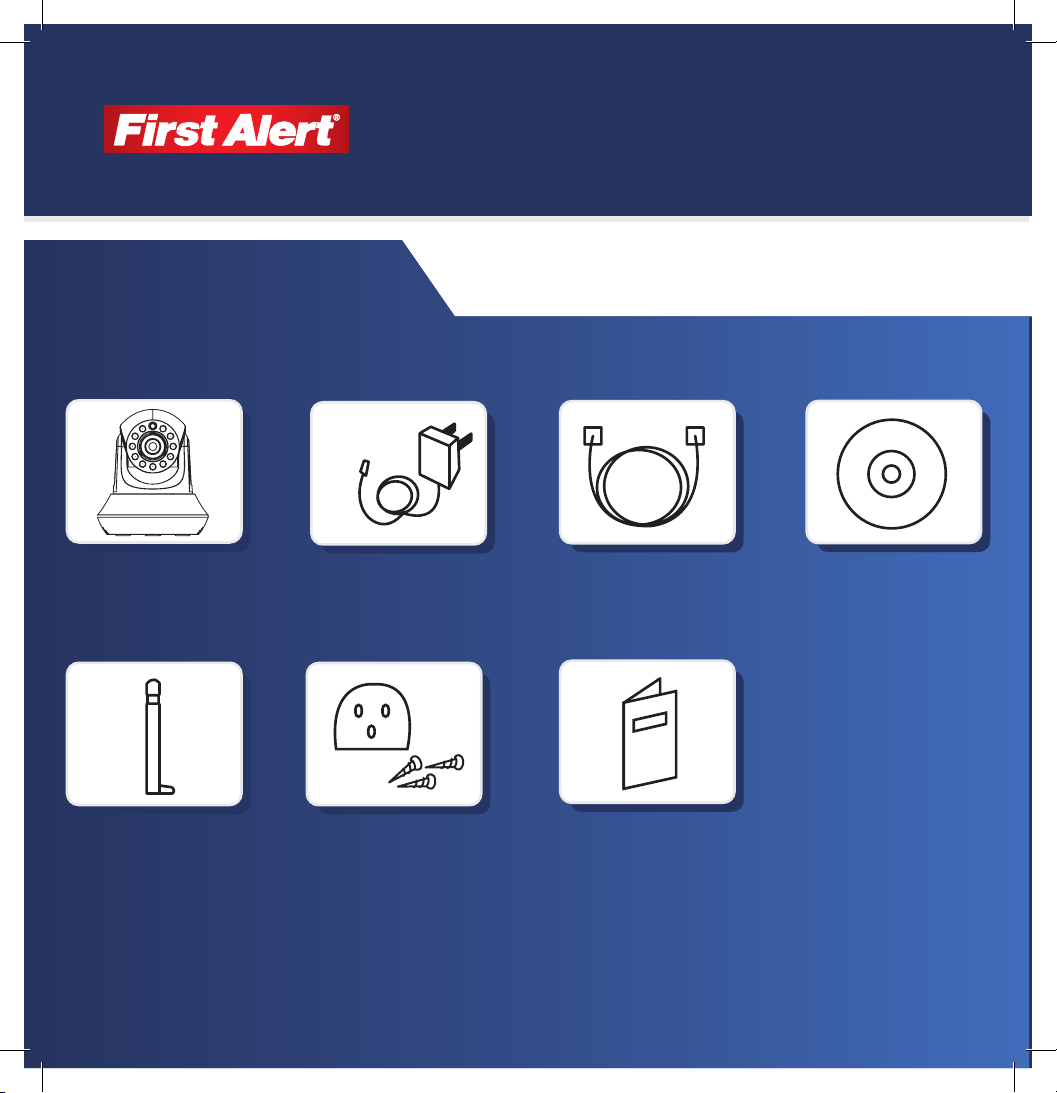
First Alert Wi-Fi HD Camera Quick Start Guide
There are multiple ways you can view and/or setup your camera. Regardless of which setup instruction you choose below, you will be able to view the camera on the mobile device and/or the PC locally and/or remotely.
LAN (Local Area Network): viewing the camera with the PC and/or mobile device when everything is connected on the same WIFI or internet connection. WAN (Wide Area Network): viewing the camera with the PC and/or mobile device when everything is connected on a different WIFI or internet connection.
PC Software Connectivity
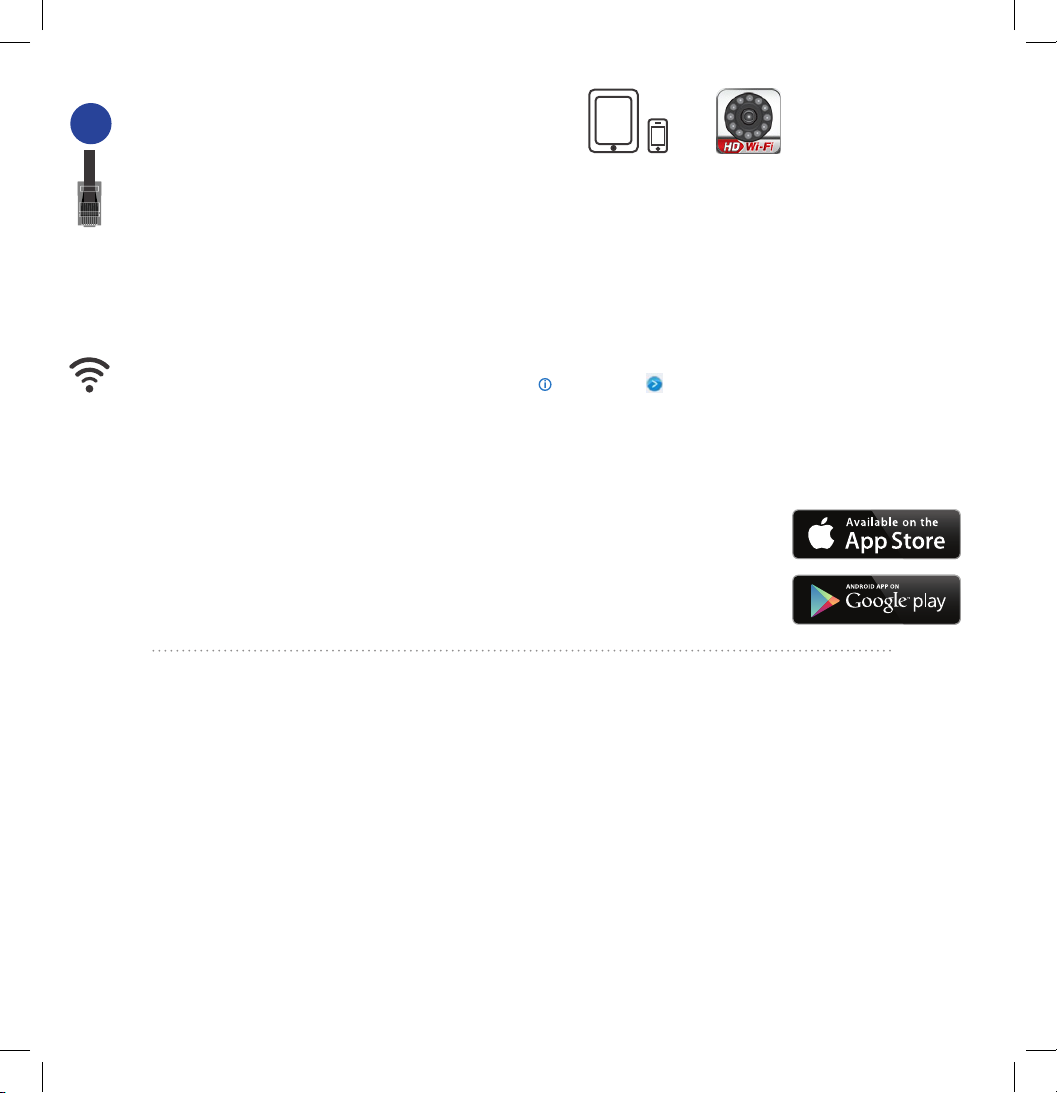
Mobile Device Software Connectivity
(LAN) Local Viewing Setup (From iPhone/iPad/Android)
(iPhone/iPad/Android must be connected to the same local network as the Camera)
1. Follow steps 1-3 in “Initial Camera Installation” instructions.
2. Make sure your mobile device is connected to your Local Area Network (WIFI).
3. Download the First Alert HD IP Camera Viewer from the appropriate App Store.
4. Open First Alert HD IP Camera Viewer App on mobile device.
5. Select the Local tab from the bottom of the App.
6. Select the camera in the camera list to view.
7. Select back
Wireless Connectivity (From iPhone/iPad/Android)
8. Next to Exxxx ID number in App, select the (iPhone) or (Android) button
9. Select wireless Settings (Iphone) or use WIFI (Android)
10. Toggle WIFI to ON
11. Select SSID (iPhone) or click search (Android)
12. Select your wireless network from the dropdown list
13. Select Password and enter your Wireless Network Password
a. Toggle show password to conrm the password was entered correctly b. DHCP should be enabled
14. Select Done (iPhone) or OK (Android)
15. Follow the App prompts
16. Select camera to view
(WAN) Remote Viewing Setup (From iPhone/iPad/Android)
1. Follow steps 1-4 in Option A above
2. Select Remote tab
3. Create an account by selecting “Create Account” or if you already created an account move onto
the next step.
4. Enter your username and Password and select login. (Do not lose this information)
5. Select “Options” from the top right of the App.
6. Select “Add Camera”.
7. Select “Scan QR code” (QR code is on the bottom of the camera) or Enter the device
information for the camera. (Device information is on a label on the bottom of the camera. DO NOT LOSE THIS INFORMATION.)
8. Click done on the top right corner.
9. Click “OK” on the add camera success.
10. Select the camera in the camera list to view.
Tip: 1. Pinch the image screen to zoom. 2. Manually focus the camera by rotating the lens on the front of the camera
