 from the outside when the Child-Protection locks are engaged. NOTE: • After setting the Ch" width="960" height="1242" />
from the outside when the Child-Protection locks are engaged. NOTE: • After setting the Ch" width="960" height="1242" />
WARNING!
Avoid trapping anyone in a vehicle in a collision.
Remember that the rear doors can only be opened
from the outside when the Child-Protection locks are
engaged.
NOTE:
• After setting the Child-Protection Door Lock system,
always test the door from the inside to make certain it
is in the desired position.
• For emergency exit with the system engaged, move the
door lock switch to the UNLOCK position, roll down
the window and open the door with the outside door
handle.
KEYLESS ENTER-N-GO™
The Passive Entry system is an enhancement to the
vehicle’s Remote Keyless Entry (RKE) system and a
feature of Keyless Enter-N-Go™. For further information,
refer to “Keyless Enter-N-Go™” in “STARTING AND
OPERATING”. This feature allows you to lock and
unlock the vehicle’s door(s) without having to press the
RKE transmitter lock or unlock buttons.
NOTE:
• Passive Entry may be programmed ON/OFF; refer to
“Uconnect® settings” in “Understanding Your Instru-
ment Panel” for further information.
• If wearing gloves on your hands, or if it has been
raining on the Passive Entry door handle, the unlock
sensitivity can be affected, resulting in a slower re-
sponse time.
2
THINGS TO KNOW BEFORE STARTING YOUR VEHICLE 39
•If the vehicle is unlocked by the Passive Entry Door
Handle, and no door goes ajar within 60 seconds, the
vehicle will re-lock and if equipped will arm the theft
alarm.
• The vehicles theft alarm can be armed/disarmed by
pressing the passive entry key fob lock/unlock buttons
(if equipped).
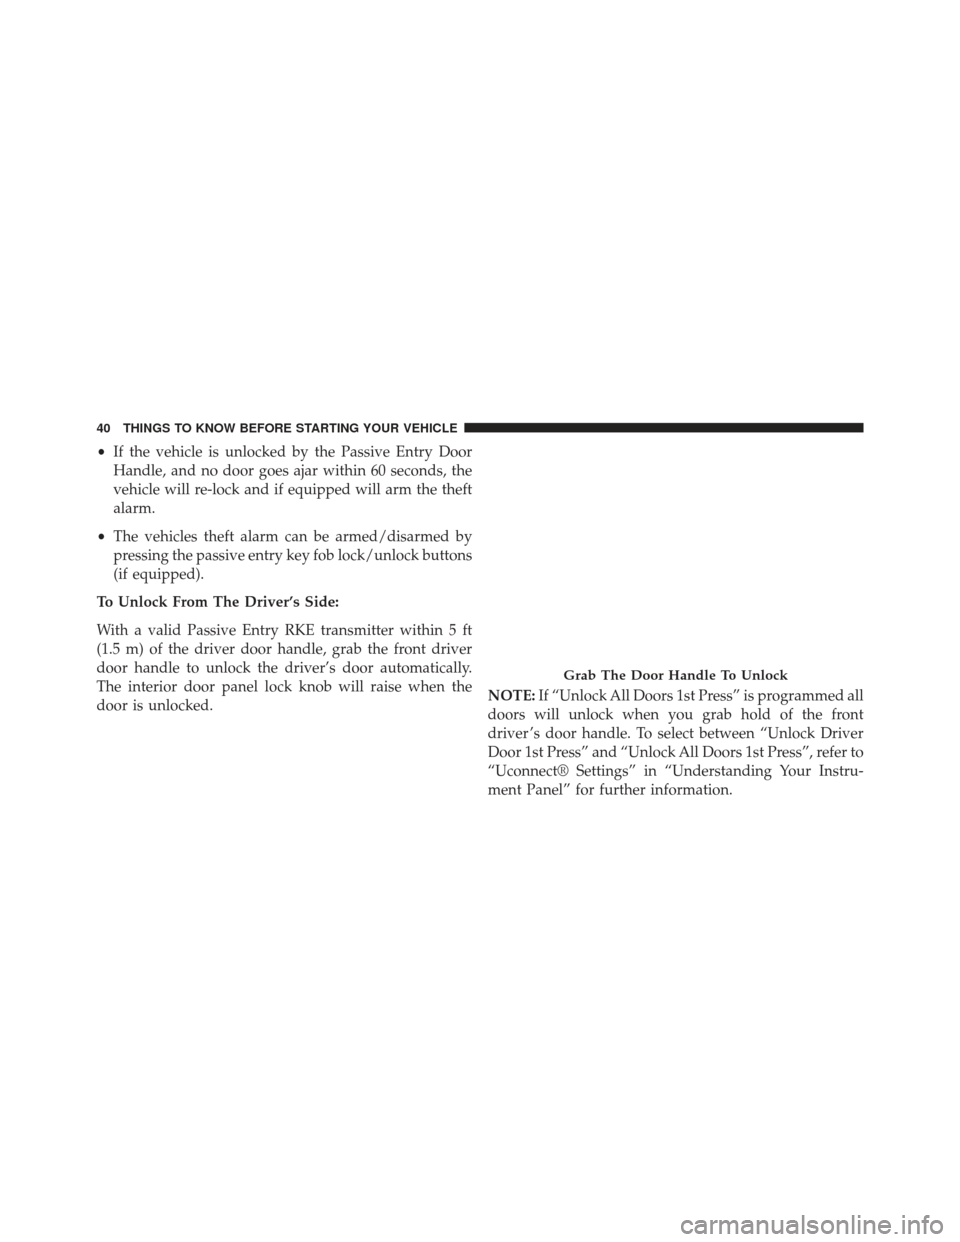
To Unlock From The Driver’s Side:
With a valid Passive Entry RKE transmitter within 5 ft
(1.5 m) of the driver door handle, grab the front driver
door handle to unlock the driver’s door automatically.
The interior door panel lock knob will raise when the
door is unlocked. NOTE:
If “Unlock All Doors 1st Press” is programmed all
doors will unlock when you grab hold of the front
driver ’s door handle. To select between “Unlock Driver
Door 1st Press” and “Unlock All Doors 1st Press”, refer to
“Uconnect® Settings” in “Understanding Your Instru-
ment Panel” for further information.
Grab The Door Handle To Unlock
40 THINGS TO KNOW BEFORE STARTING YOUR VEHICLE
To Unlock From The Passenger Side:
With a valid Passive Entry RKE transmitter within 5 ft
(1.5 m) of the passenger door handle, grab the front
passenger door handle to unlock all doors automatically.
The interior door panel lock knob will raise when the
door is unlocked.
NOTE:All doors will unlock when the front passenger
door handle is grabbed regardless of the driver ’s door
unlock preference setting (“Unlock Driver Door 1st
Press” or “Unlock All Doors 1st Press”).
Preventing Inadvertent Locking Of Passive Entry RKE
Transmitter In Vehicle
To minimize the possibility of unintentionally locking a
Passive Entry RKE transmitter inside your vehicle, the Passive Entry system is equipped with an automatic door
unlock feature which will function if the ignition switch
is in the OFF position.
If one of the vehicle doors is open and the door panel
switch is used to lock the vehicle, once all open doors
have been closed the vehicle checks the inside and
outside of the vehicle for any valid Passive Entry RKE
transmitters. If one of the vehicle’s Passive Entry RKE
transmitters is detected inside the vehicle, and no other
valid Passive Entry RKE transmitters are detected out-
side the vehicle, the Passive Entry System automatically
unlocks all vehicle doors and chirps the horn three times
(on the third attempt ALL doors will lock and the Passive
Entry RKE transmitter can be locked in the vehicle).
2
THINGS TO KNOW BEFORE STARTING YOUR VEHICLE 41
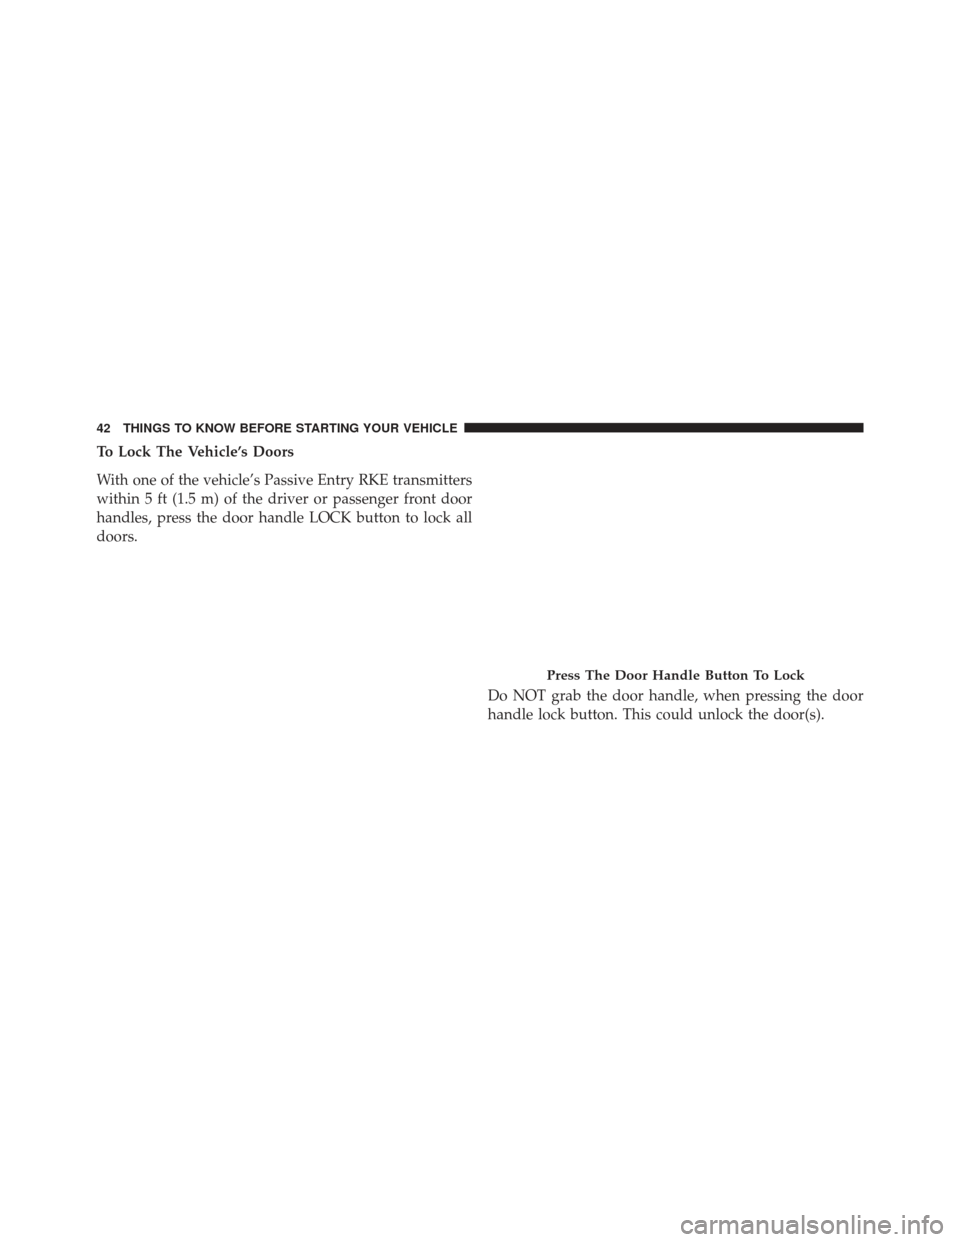
To Lock The Vehicle’s Doors
With one of the vehicle’s Passive Entry RKE transmitters
within 5 ft (1.5 m) of the driver or passenger front door
handles, press the door handle LOCK button to lock all
doors.
Press The Door Handle Button To Lock
Do NOT grab the door handle, when pressing the door
handle lock button. This could unlock the door(s).
42 THINGS TO KNOW BEFORE STARTING YOUR VEHICLE
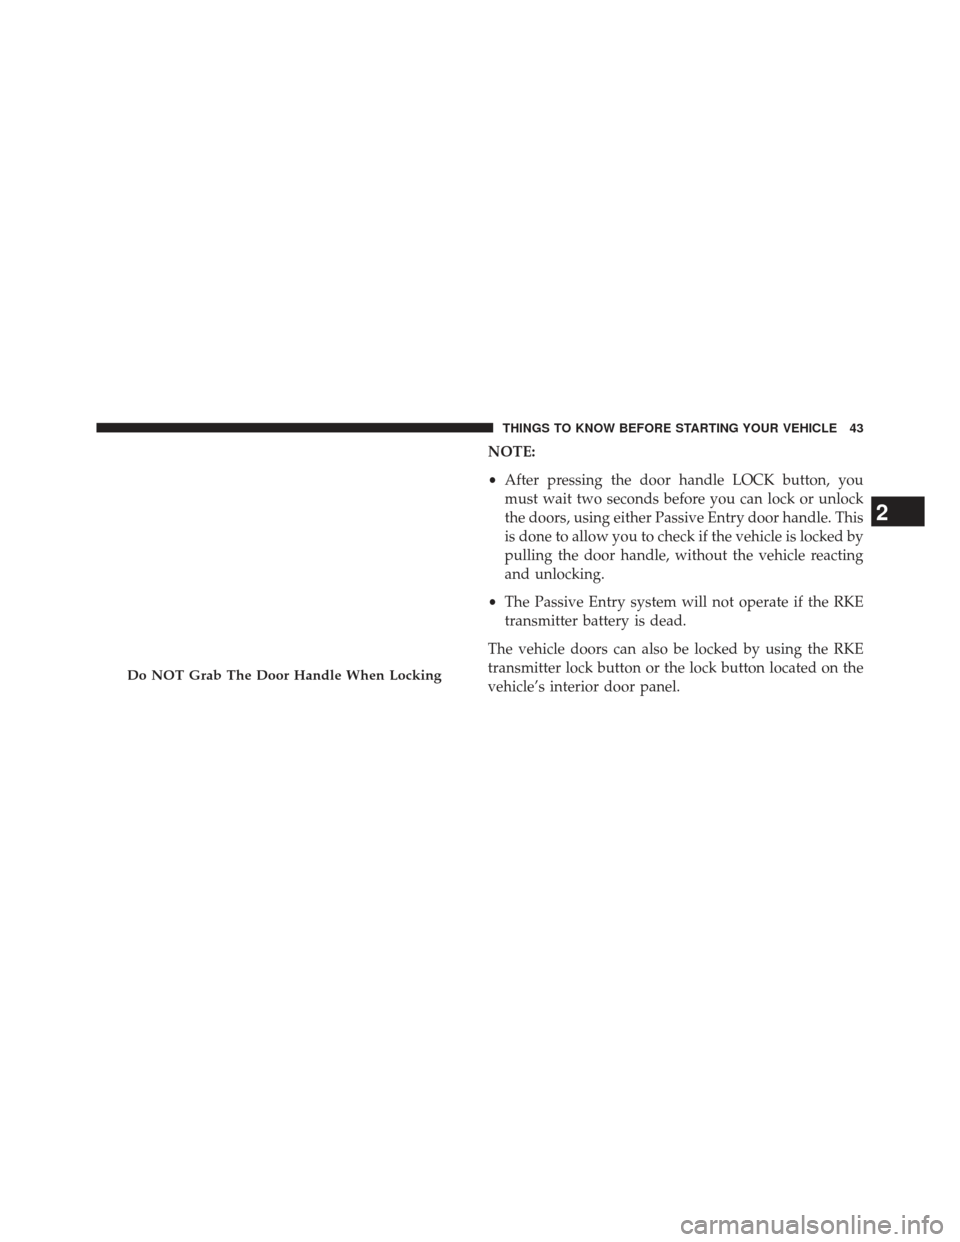
NOTE:
•After pressing the door handle LOCK button, you
must wait two seconds before you can lock or unlock
the doors, using either Passive Entry door handle. This
is done to allow you to check if the vehicle is locked by
pulling the door handle, without the vehicle reacting
and unlocking.
• The Passive Entry system will not operate if the RKE
transmitter battery is dead.
The vehicle doors can also be locked by using the RKE
transmitter lock button or the lock button located on the
vehicle’s interior door panel.
Do NOT Grab The Door Handle When Locking
2
THINGS TO KNOW BEFORE STARTING YOUR VEHICLE 43
 single opening and closing switch on" width="960" height="1242" />
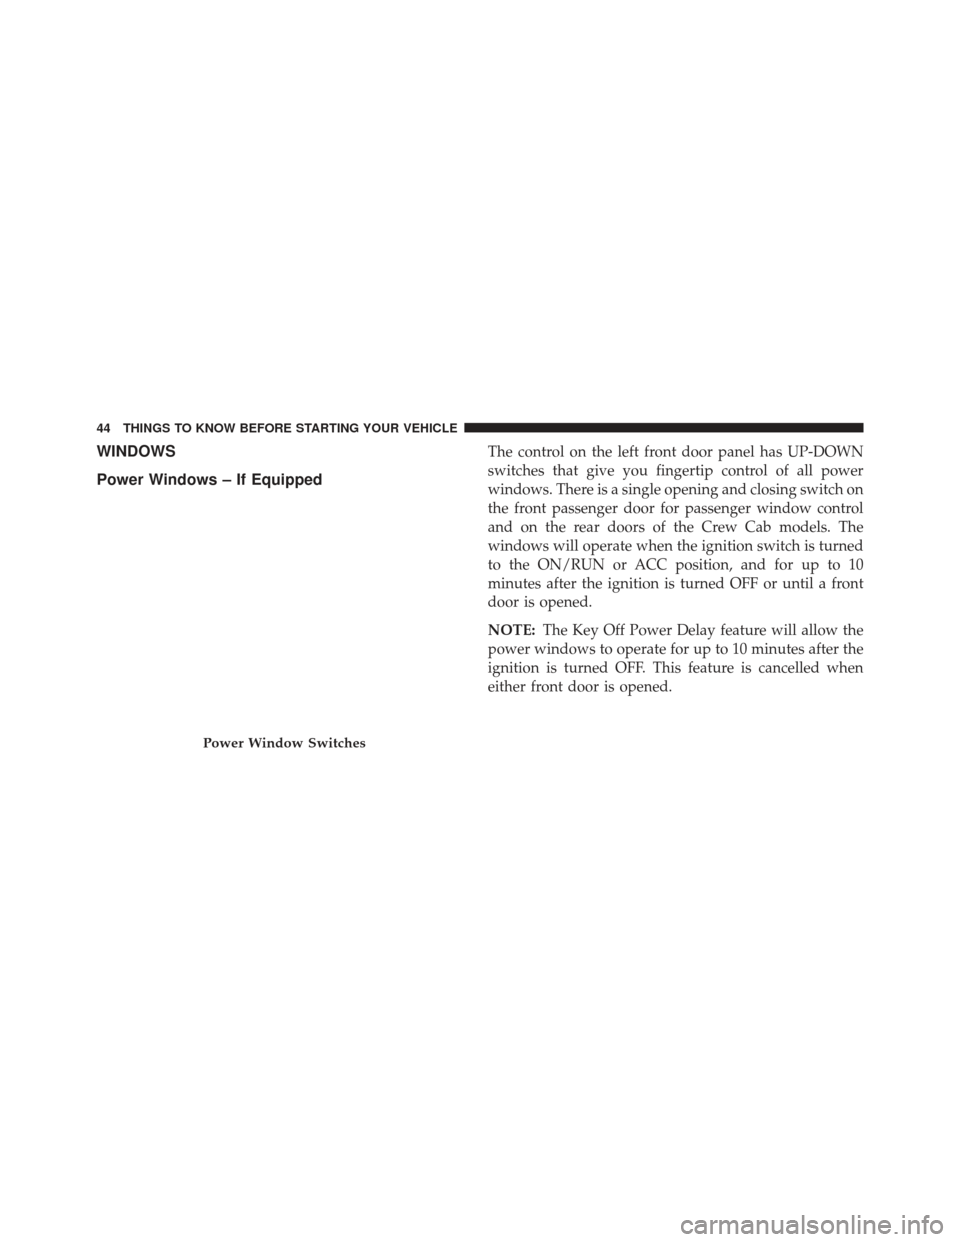
WINDOWS
Power Windows – If EquippedThe control on the left front door panel has UP-DOWN
switches that give you fingertip control of all power
windows. There is a single opening and closing switch on
the front passenger door for passenger window control
and on the rear doors of the Crew Cab models. The
windows will operate when the ignition switch is turned
to the ON/RUN or ACC position, and for up to 10
minutes after the ignition is turned OFF or until a front
door is opened.
NOTE:The Key Off Power Delay feature will allow the
power windows to operate for up to 10 minutes after the
ignition is turned OFF. This feature is cancelled when
either front door is opened.
Power Window Switches
44 THINGS TO KNOW BEFORE STARTING YOUR VEHICLE
WARNING!
•Never leave children alone in a vehicle, or with
access to an unlocked vehicle. Allowing children to
be in a vehicle unattended is dangerous for a
number of reasons. A child or others could be
seriously or fatally injured. Children should be
warned not to touch the parking brake, brake pedal
or the shift lever.
• Do not leave the key fob in or near the vehicle (or
in a location accessible to children), and do not
leave a vehicle equipped with Keyless Enter-N-
Go™ in the ACC or ON/RUN mode. A child could
operate power windows, other controls, or move
the vehicle.
Auto-Down
Both the driver and front passenger window switch have
an Auto-Down feature. Press the window switch past the first detent, release, and the window will go down
automatically. To cancel the Auto-Down movement, op-
erate the switch in either the up or down direction and
release the switch.
To stop the window from going all the way down during
the Auto-Down operation, pull up on the switch briefly.
To open the window part way, press to the first detent
and release it when you want the window to stop.
Auto-Up Feature With Anti-Pinch Protection
(4-Door Models Driver And Front Passenger Door
Only) — If Equipped
Lift the window switch fully upward to the second
detent, release, and the window will go up automatically.
To stop the window from going all the way up during the
Auto Up operation, push down on the switch briefly.
2
THINGS TO KNOW BEFORE STARTING YOUR VEHICLE 45
To close the window part way, lift the window switch to
the first detent and release when you want the window to
stop.
NOTE:If the window runs into any obstacle during the
auto-closure, it will reverse direction and then go back
down. Remove the obstacle and use the window switch
again to close the window. Any impact due to rough road
conditions may trigger the auto reverse function unex-
pectedly during auto closure. If this happens, pull the
switch lightly to the first detent and hold to close the
window manually.
WARNING!
There is no anti-pinch protection when the window
is almost closed. Be sure to clear all objects from the
window before closing.
Reset Auto-Up
Should the Auto Up feature stop working, the window
probably needs to be reset. To reset Auto Up:
1. Pull the window switch up to close the window completely and continue to hold the switch up for an
additional two seconds after the window is closed.
2. Push the window switch down firmly to the second detent to open the window completely and continue
to hold the switch down for an additional two seconds
after the window is fully open.
Window LOCKOUT Switch (4–Door Models Only)
The window LOCKOUT switch on the driver’s door
allows you to disable the window control on the rear
passenger doors. To disable the window controls on the
rear passenger doors, press the window LOCK button
into the latched or down position. To enable the window
46 THINGS TO KNOW BEFORE STARTING YOUR VEHICLE
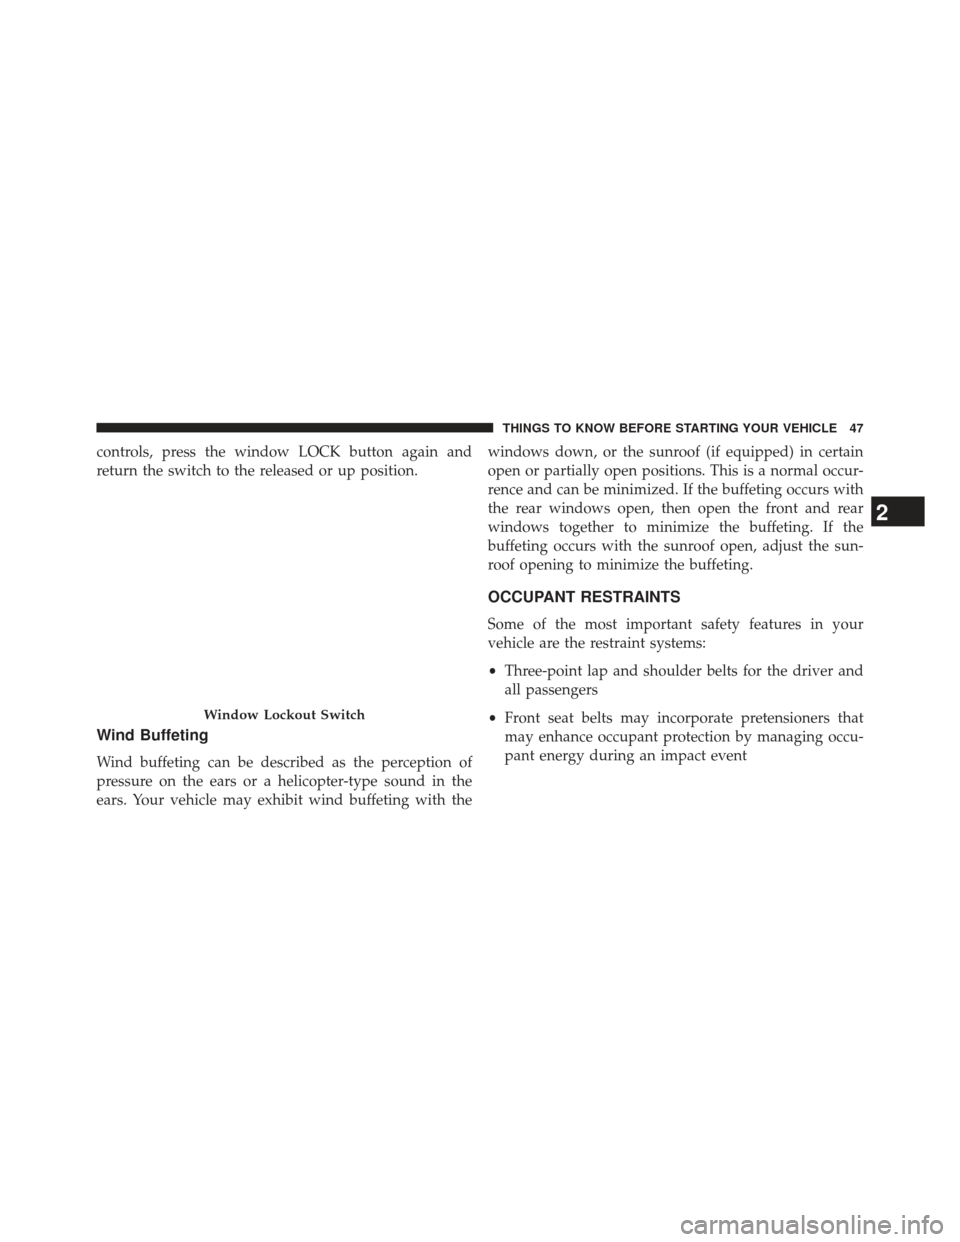
controls, press the window LOCK button again and
return the switch to the released or up position.
Wind Buffeting
Wind buffeting can be described as the perception of
pressure on the ears or a helicopter-type sound in the
ears. Your vehicle may exhibit wind buffeting with thewindows down, or the sunroof (if equipped) in certain
open or partially open positions. This is a normal occur-
rence and can be minimized. If the buffeting occurs with
the rear windows open, then open the front and rear
windows together to minimize the buffeting. If the
buffeting occurs with the sunroof open, adjust the sun-
roof opening to minimize the buffeting.
OCCUPANT RESTRAINTS
Some of the most important safety features in your
vehicle are the restraint systems:
•
Three-point lap and shoulder belts for the driver and
all passengers
• Front seat belts may incorporate pretensioners that
may enhance occupant protection by managing occu-
pant energy during an impact event
Window Lockout Switch
2
THINGS TO KNOW BEFORE STARTING YOUR VEHICLE 47
•Advanced Front Air Bags for driver and front
passenger
• Supplemental Side Air Bag Inflatable Curtains (SABIC)
— if equipped
• Supplemental Seat-Mounted Side Air Bags (SAB)
• An energy-absorbing steering column and steering
wheel
• Knee bolsters/blockers for front seat occupants
• All seat belt systems (except driver ’s, front center and
second row center position) include Automatic Lock-
ing Retractors (ALRs), which lock the seat belt web-
bing into position by extending the belt all the way out
and then adjusting the belt to the desired length to
restrain a child seat or secure a large item in a seat —
if equipped Please pay close attention to the information in this
section. It tells you how to use your restraint system
properly, to keep you and your passengers as safe as
possible.
If you will be carrying children too small for adult-sized
seat belts, the seat belts or the Lower Anchors and Tether
for CHildren (LATCH) feature also can be used to hold
infant and child restraint systems. For more information
on LATCH, refer to Lower Anchors and Tether for
CHildren (LATCH).
NOTE:
The Advanced Front Air Bags have a multistage
inflator design. This allows the air bag to have different
rates of inflation based on several factors, including the
severity and type of collision.
48 THINGS TO KNOW BEFORE STARTING YOUR VEHICLE